Chair caning Tip of the day–
Have you ever woven a wide-binding cane chair seat or porch cane rocker seat and, in the last few rows, found it nearly impossible to finish because the previous weaving is too tight?
Doesn’t that make you want to throw up your hands in disgust, and are you frustrated beyond belief?
Or maybe a binder cane chair has come in for repairs, and the front seat dowel is so bowed (or it’s broken) that it needs to be replaced?
I bet some uptight weaver must have woven that seat! Or they didn’t know the hint I’m sharing with you today.
Have you ever seen the back of a porch cane rocker that has both sidebars so bowed that it looks lopsided and strange, contorted all out of proper shape? Read on, cuz I have the solution to your pressing problem!
Use tension rods on a binder cane seat
Well, here’s the answer that will solve all your problems weaving that porch cane chair seat or back!
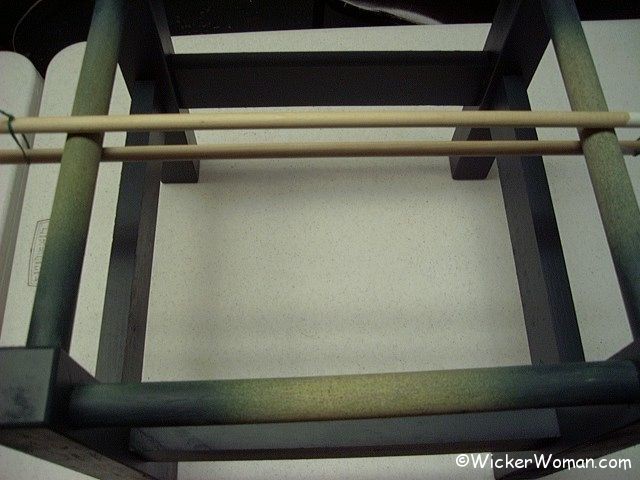
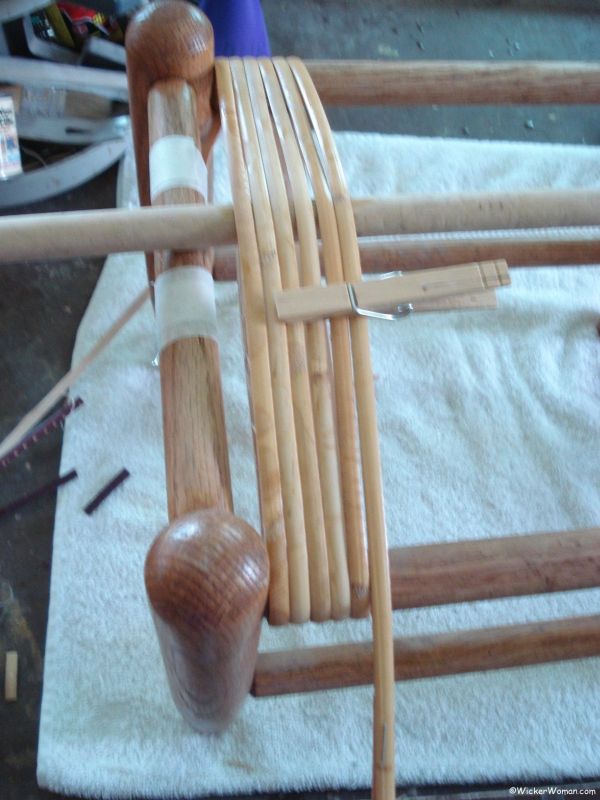
Use one or two round wooden dowels as tension rods when setting up your warp or foundation strands.

Place the wooden dowel, in this case, a 1/2″ diameter wooden rod (available at any hardware or big-box store), horizontally across the center of the seat before beginning to weave.
Depending on how tight a weaver you are, you might want to use two smaller-diameter rods instead of just one.
If using two rods, place one horizontally across the top of the seat and the other across the bottom.
Attach the rods to the outside of the stool opening, top and bottom, using twist ties.
Experiment on a few footstools before working on a customer’s chair to ensure your tension is correct.
You don’t want it too tight, nor too loose. Just like Goldilocks and the three bears, the tension should be “just right.”
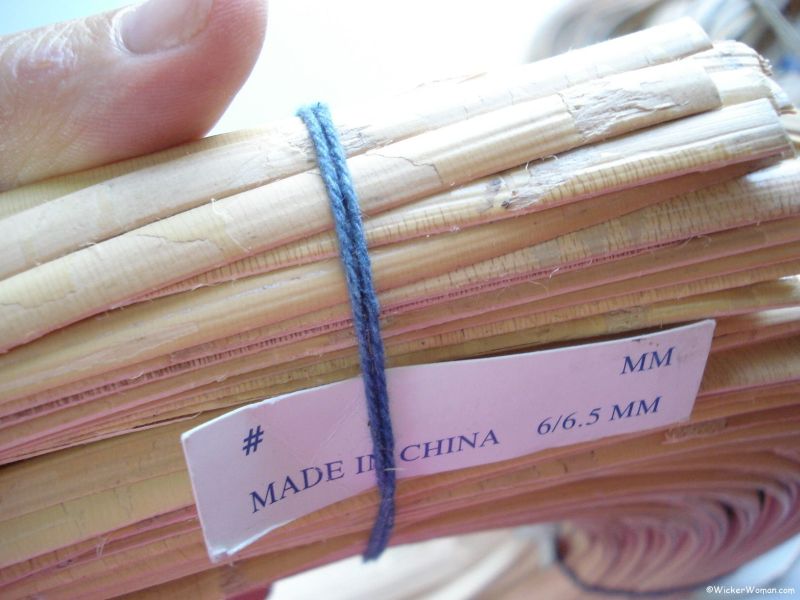
To begin weaving, attach a very long strand of pre-soaked wide binding cane to the inside of the left rail, using some masking tape or small upholstery tacks.
Bring the strand from the bottom, around the back rail, and up to the top. Make sure the shiny, glossy “right” side of the cane is facing upward.
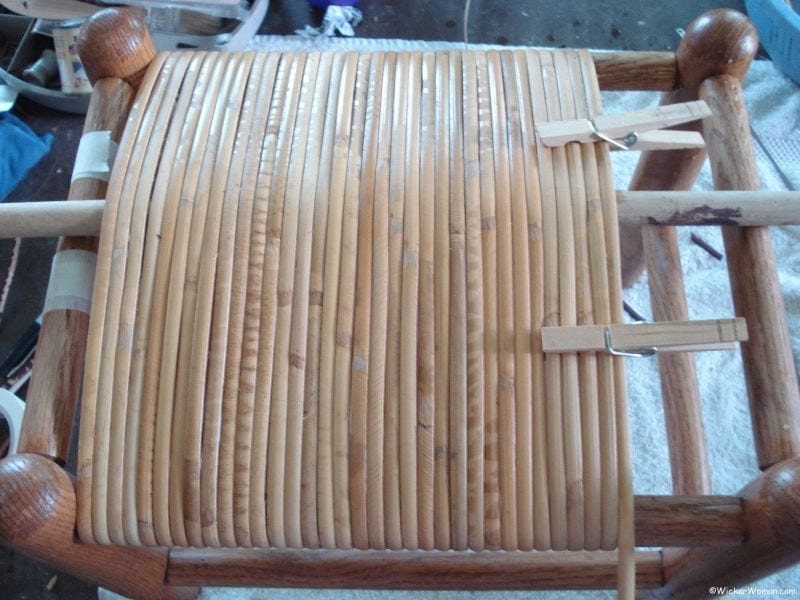
Then begin setting up your warp or foundation strands from back to front, taking care that you are going OVER the tension rod each time as you pull the strand toward you.
Ensure the strands are butted up against the left corner posts and lie side by side, with no overlap.
Make sure to pull the cane strands taught, but not tight, as you go around the tension rod and the seat framework.
Keep the tension the same each time; otherwise, you will have bulges and an inconsistent, lumpy seat at the front rail.
Continue setting up your warp (vertical strands) in this manner until you have filled the seat to the right corner posts.
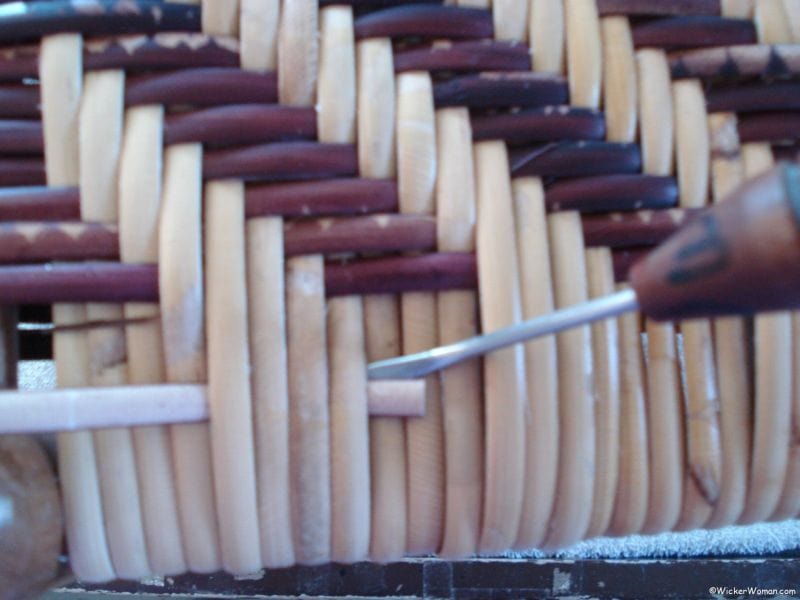
Then begin weaving the horizontal strands along the top and bottom sides of the stool.
I use a herringbone twill of 3×3, over three, under three. And on the bottom, I typically use over under 4×4 twill pattern.
When you have woven about halfway through the seat with the horizontal strands, then you can pull out those tension rods.
Because by then, they have served their purpose by giving you ample slack to finish weaving those last few rows without problems!
Continue weaving across the top and then across the bottom until all horizontal lines are complete. Leave the end of the last strand inside the weaving; the tension will keep it in place when it dries.
And now you can enjoy your completed wide binding cane chair or footstool, with the help and assistance of your wide binding cane tension rods.
No more pulling out all your hair in frustration during the weaving process! Whaooo! You did it!
What method do you use to make the weaving easier on a similar porch cane stool or chair seat? Please leave your comment below.
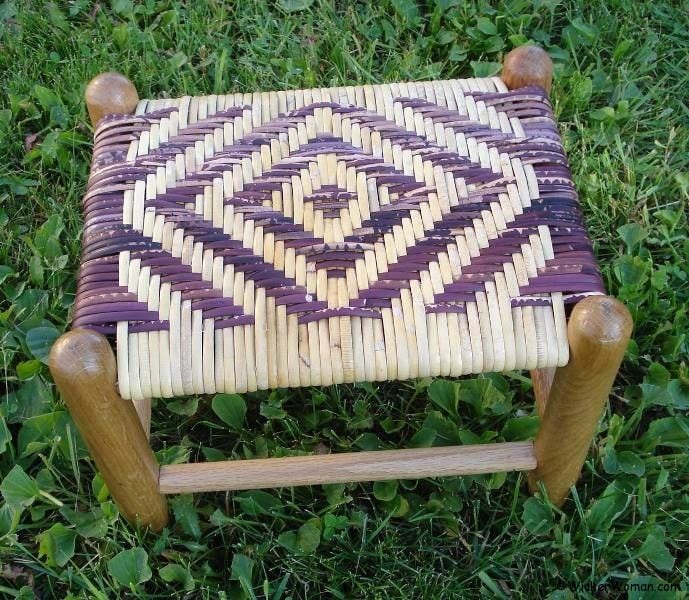
Here is the wide-binding cane footstool, woven in a diamond design and fully finished. The tension rods kept the warp strands consistently taut without being too tight.
FURTHER READING: What does chair caning cost?
Has this Chair Caning Tip of the Day helped you? I’d love to see your comments below.

What are your thoughts about this resource article page?
Leave your comments below and share with your social networks!
~~Live Well, Laugh Often, Love Much ~~
Happy Weaving, until next time!


Hi Cathryn,
What is the usual vintage of a chair with woven binder cane?
Thank you,
Teena Stauffer
Teena,
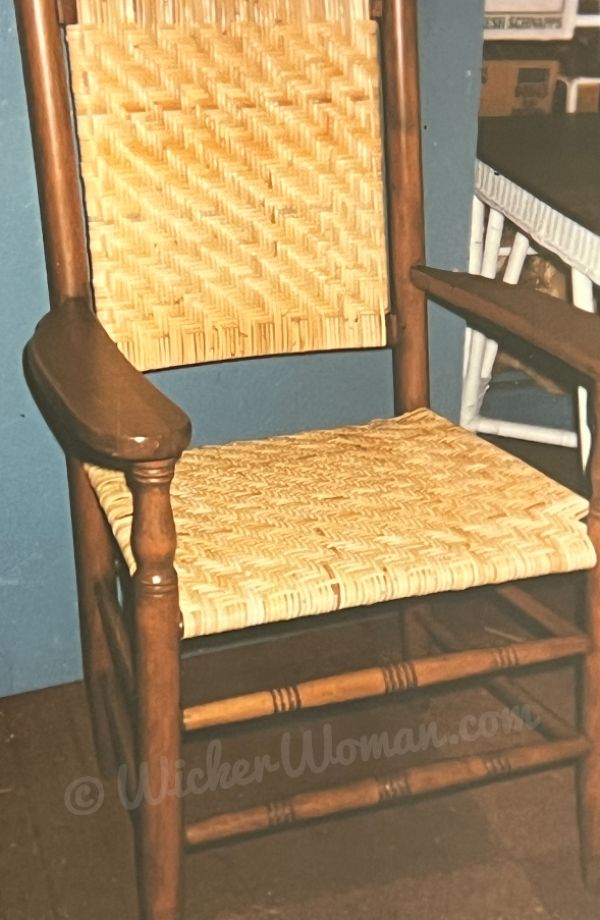
Here in the States, we’ve always used binder cane on the hole-to-hole chair seats, to finish off the edges and cover the holes, so it goes back to the mid to late 1700s.
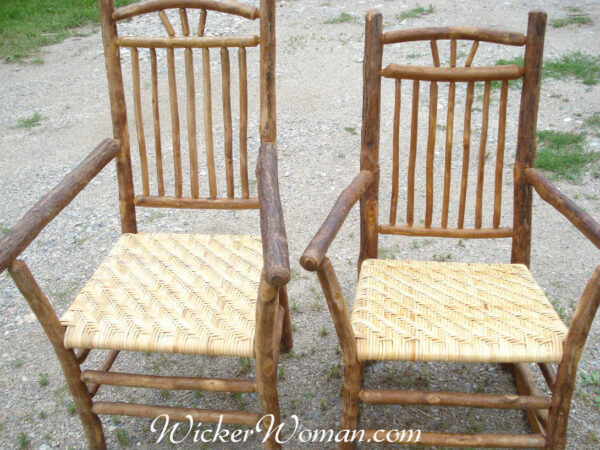
Now, if you are talking about chair seats entirely woven with binder cane as are the porch cane rockers and school and office chairs, those became extremely popular in the mid-1800s.
But you can’t date the chairs strictly by the pattern and material since the binder cane seats have been woven throughout the centuries.
Hope that helps and answers your question, let me know if you have any more.
Wow! What timing! I just did my first chair. Used the old caning as a sample. I made SO many mistakes. Not satisfied….
I have 2 early 18th century (1720ish)chairs to do. They both have rotted rush seats, but decided to use 5/8 wide flat caning. These will be handed down so I want them nice. Again, I need help. Tips please.
Thank you
Bob
Congratulations on weaving your very first chair seat! Just a note of caution here though, it’s never a good idea to use the old seat as a pattern when you are learning how to weave since many, many weavers do it wrong in a lot of cases. It’s best to learn from a reputable book, find the ones I recommend on the Seatweaving FAQ page, or in a class from a pro. You didn’t mention what state you live in but check with your local community education and folk schools in your area and also on my National Furniture Repair Directory™ to find a class. The SeatWeavers’ Guild, Inc.® also has a list of their members that offer classes all across the country.
Great tip, I’ve used it on seats for a long time. I am a pretty tight weaver and it really helps out.
Question – how does it help with the bowed back rails? Do you run the warp horizontally on the back?
Yes Joe, that’s one way to weave the backs on porch cane chairs, putting the tension rods in vertically, warping horizontally and then weaving vertically from one side or the other. You would need to position the rocker or chair so you could stand or side on the long side of the back and do your weaving from the side that’s closest to your body.
Or you can put two small dimension rods horizontally on the back rails and then put your warp in from top to bottom rails. Then do your actual weaving horizontally, as in the photos on the blog post. Doesn’t really matter too much, just what’s comfortable for you.
I also find that I have more control over the weaving and packing the rows, if I begin weaving as close to my body as possible, then it’s a simple matter of pulling toward me on each row as I go and packing the rows in so there’s no gaps between rows.
It’s funny I have done this dowel thing across the seat for 30+ yrs, because the first one I did, was exactly uneven in the front. The thing about caning, is there are so many tricks of the trade people have to learn. You can also lay a ruler across the hand cane seat and put your first step across it, to get the seat perfect:)
Oh me too Dottie, I’ve used this trick for over 35 years now, but find that there are still folks that have never heard of using the tension rods to make their weaving easier! Go figure! And since it was mentioned a while ago on the Chair Caning Forum, I thought I’d make a blog post about it again. Personally, I never use the flat rulers or paint sticks, because I don’t think they add enough “height” or room as you get with using either one or two round dowels. Always seemed like a waste of time to use the flat tension rods, in my opinion. But to each his own, right?