©Cathryn Peters–The Wicker Woman
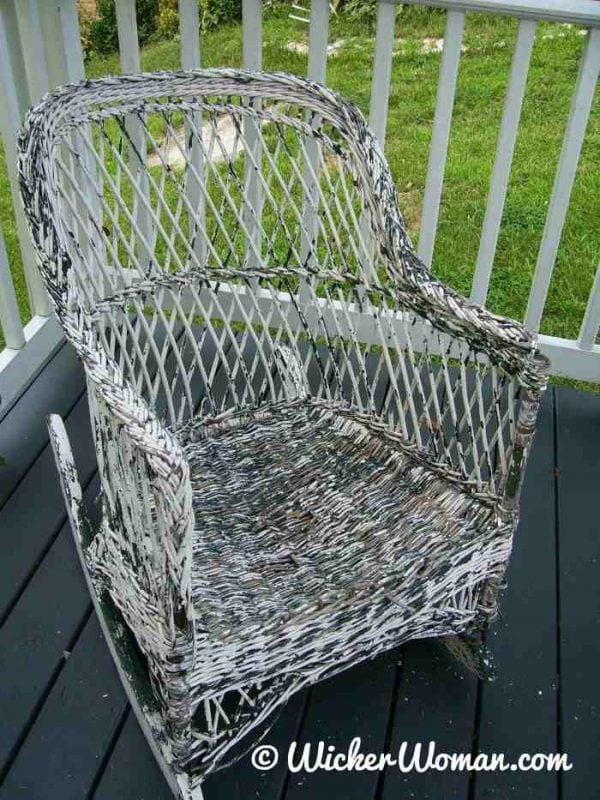
Do you just love old wicker furniture and the romantic look it gives any room or decor? Do you own wicker pieces that have seen their better days? Well then, it stands to reason that at some time or another you might need to know how-to paint wicker furniture like a pro to help extend its life.
So, I’ve created this handy wicker furniture painting article to answer the questions I’m most often asked about how to Paint Wicker Furniture.
Question: What’s the first step in painting wicker furniture?
Answer:
Preparing the wicker pieces is very important for a good quality paint job. So the first thing to do is to determine what kind of wicker you are dealing with because some of the cleaning methods are different for each type. The most common are rattan reed and paper fibre rush, but they each require different paint prepping and cleaning treatments.
Question: Do I have to get the old paint off?
Answer:
Yes, the next step is to begin removing all the flaking and chipped paint that you can. Get a soft brass or wire brush and scrape off as much as possible. If it’s flaking badly, I have also found success using the side of a flat-head screwdriver blade or a house paint scraper tool, but be careful not to damage the wicker strands or weave as you scrape.
This page may contain affiliate links so when you make a purchase through one of these links, I may receive a small compensation without any extra cost to you.
FYI: Prepping stubborn paint on wicker is very important! How do I do it?
Answer:
Sometimes, if you are sure you are dealing with a rattan reed wicker piece, (rather than the paper wicker) the flaking paint can also be removed at a high-pressure car wash where you spray the piece yourself.
Keep in mind that it’s very easy to damage the rattan reed with extremely high pressure and the water may weaken the glue joints. Make sure the piece is completely dry before proceeding further. Leave it outside to dry on a warm, windy day.
Once the wicker piece is thoroughly dry, and you’ve removed all the paint that you can, lightly sand the rough edges to blend and also rough up the surface for the best paint adhesion.
Question: Do I have to use a paint primer before painting wicker furniture?
Answer:
Yes, you really should use a primer first! Be sure to apply at least two coats of oil-base wood primer to the bare spots, or the final paint coat will absorb like crazy, adding to your costs. The use of a primer is especially important if you are changing the color of the piece from dark to light.
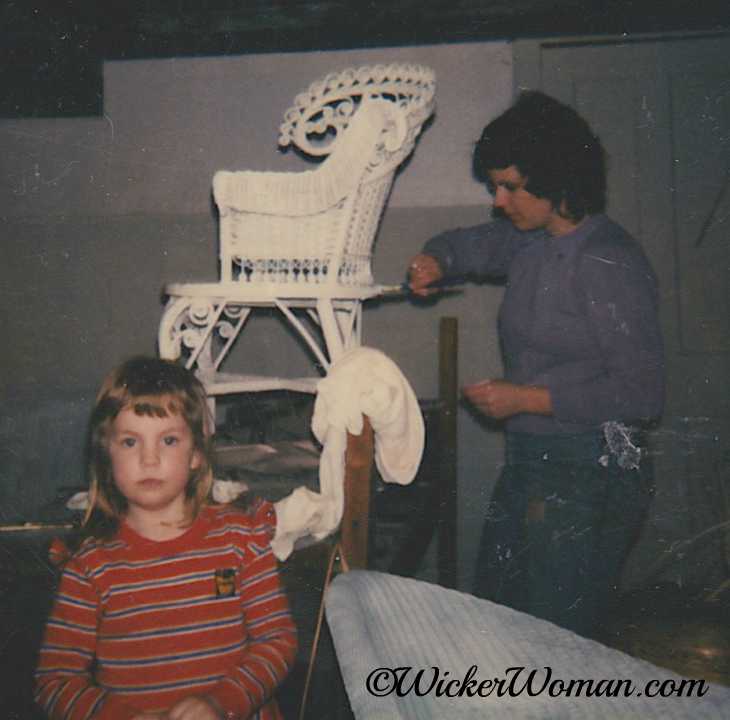
Then after the primer dries, apply two light coats of oil-based paint, using either a compressor sprayer, spray can or brush to apply.
Question: What type of paint is used on wicker?
Answer:
I recommend using an oil-based indoor/outdoor house paint, applied using a compressor sprayer. It remains flexible, adheres to the wicker readily, and is extremely durable. In years past, I have seen far too many wicker pieces painted with Latex, that begin to flake off only after a few years of application.
However, there are many wicker experts, that swear by the good results they are experiencing with the new Latex paint products. Consult a paint expert at a reputable paint store before purchasing your supplies.
FYI: The quality of the spray paint cans has really improved over the years since I began painting wicker over 40 years ago. So you might find them more to your liking, but it will take several cans of spray paint to finish the job well.
Question: how do you paint wicker furniture after it’s all prepped?
Answer:
Here are the steps I use for painting wicker furniture
- Always wear protective face mask
 and safety glasses and use good ventilating methods if painting indoors.
 - Protect surrounding areas with drop cloths and if painting outdoors using a spray method, only spray the paint on a windless day.
- The best way to paint wicker in my opinion, is to use a compressor paint sprayer, using oil-base house paint. Please do your own research before making your purchase of a compressor, get what you need for your particular project.
- If this is not possible, and you only have one piece to do, I recommend using a natural bristle paintbrush to apply the oil-base paint, or if you wish, use the spray can method.
- Buy the best quality paint available and make sure it’s compatible with the existing paint already on the piece, and use a wood primer, touching up any bare areas before painting.
- When you use spray paint cans, quite a bit of paint is lost in over-spray and can end up being quite expensive in the long run.
- So, you can either buy a paint spray booth or shelter or set up a home-made spray booth, fashioned out of an appliance cardboard box. A spray booth helps reduce overspray either way, whether you use the spray cans or a compressor sprayer.
- Be sure to turn the chair upside down and paint all visible areas first, then tip upright and apply paint to all visible areas, getting into all the crevices and corners.
- Give at least two light coats of paint and be sure to clean up any spills and drips immediately and don’t “glob” on the paint with thick coats.
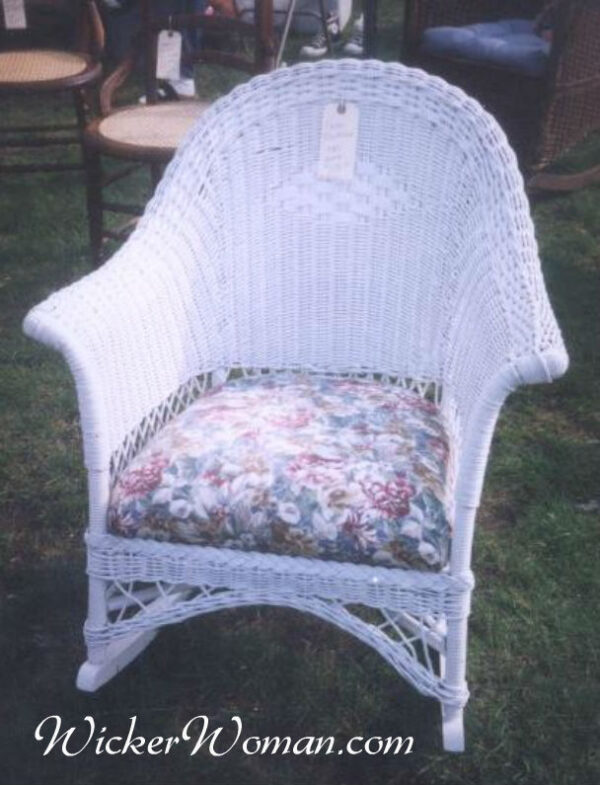
- Let all coats of paint dry before applying the next, and make sure you don’t sit in the chair until the paint has thoroughly cured for about a week. Enjoy your newly painted wicker furniture!
 and
and  and use good ventilating methods if painting indoors.
 and if painting outdoors using a spray method, only spray the paint on a windless day.
 , using oil-base house paint. Please do your own research before making your purchase of a compressor, get what you need for your particular project.
 or set up a home-made spray booth, fashioned out of an appliance cardboard box. A spray booth helps reduce overspray either way, whether you use the spray cans or a compressor sprayer.
Disclaimer: This article was written by Cathryn Peters based on her own personal experiences and knowledge about the antique wicker furniture industry acquired over the last 50 years of providing wicker restoration services. Viewers may follow these directions using their own best judgment, and no liability concerning your results is assumed by The Wicker Woman or Cathryn Peters.
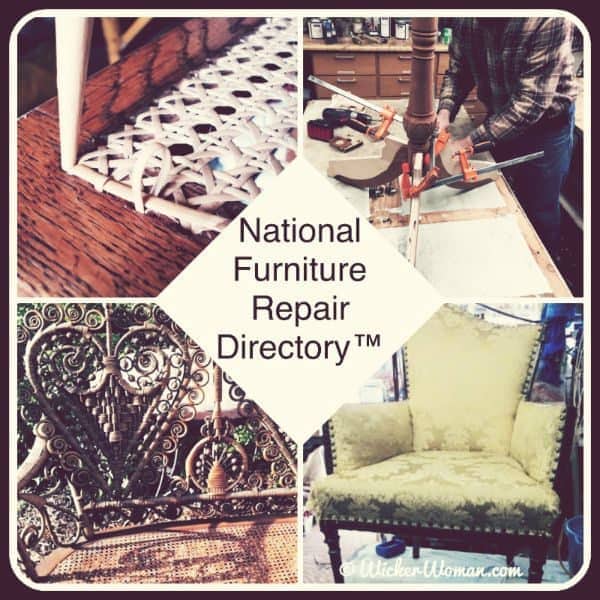
If you’d rather not paint wicker yourself, search the National Furniture Repair Directory™–Wicker Category here on WickerWoman.com for someone to make any wicker repairs that might be needed or to find a furniture refinishing pro to strip, prep and repaint the wicker for you.
Hope this How-to Paint Wicker Furniture article helped you today. And if you did enjoy the article, please consider making a donation to keep this information free for everyone! Click the Support TWW button below. Thank you!


Articles, Tip Sheets & Reports <– Back
Next –> Victorian Wicker Repair Process